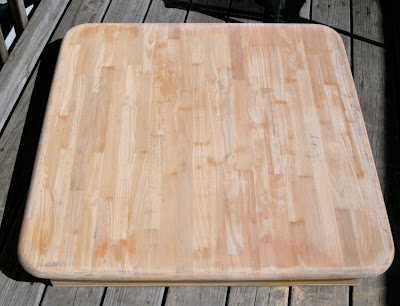
We bought a little kitchen table years ago from a neighbor's moving sale. It started out stained with a light stain. Thinking it would look better a little darker we tried staining it darker. Clearly we did not prep the surface very well because it didn't look better - it looked awful! :)
I LOVE LOVE LOVE going to the "oops table" in the paint department of
the home improvement stores. I found a can of off white paint for
$2 and immediately knew I needed to buy it to repaint my kitchen table! I was in such a rush to get this thing refinished that I completely forgot to take a "before" photo until it was already disassembled on the back deck!
It's just a basic table: square top with 4 legs, one at each corner, attached with nuts and bolts. Easy to disassemble and easy to reassemble when it was all done.
 I
tried using an orbital sander, but found that I preferred to sand by
hand. Not sure why, but there was something about it that I just enjoyed
- especially on such an easy, flat surface like the table top. I sanded the legs the same way.
I
got it all sanded down using a 60 grit sandpaper. Then I gave it a
quick sand with a 120 grit sandpaper. Because I wasn't going to re-stain
it I wasn't super picky about how smooth the surface was.
Once it was ready, I primed it all using a water based primer. I don't know if it was entirely necessary, but because it would get a ton of use I decided to use it. Once that was done and dry it was time for the paint!
Because of the primer I only ended up putting on one coat of paint. Again, because this is a table that will get a ton of use I finished with a water based polyurethane. I gave the legs one coat of polyurethane, but gave the table top three coats. Because of the weather I had to move the table back inside for the finishing coats - too much wind!
All in all, I think it was a pretty decent first attempt at a DIY project.


No comments:
Post a Comment